|
Frey Theater Flooding by Tropical Storm Lee September 7-8, 2011
|
|
The Frey Theater is Covered with an Inch+ of Water! |
|
|
|
On September 7, 2011, tropical
storm Lee funneled up the east coast between two strong
pressure systems, dumping 9" to 15" of rain in the local area. The
Frey Theater, which infrequently would get only a small amount of water
seepage in the front part of the theater from extremely heavy rains, was this time inundated with water
across the entire basement floor. The rain water pooled in the back yard
against the rear of the house, and then overflowed the
foundation. Water could be heard gushing like
a waterfall behind the wood paneled wall in the bathroom, which then poured out
into the basement overnight and covered the floor with 1" to 2"
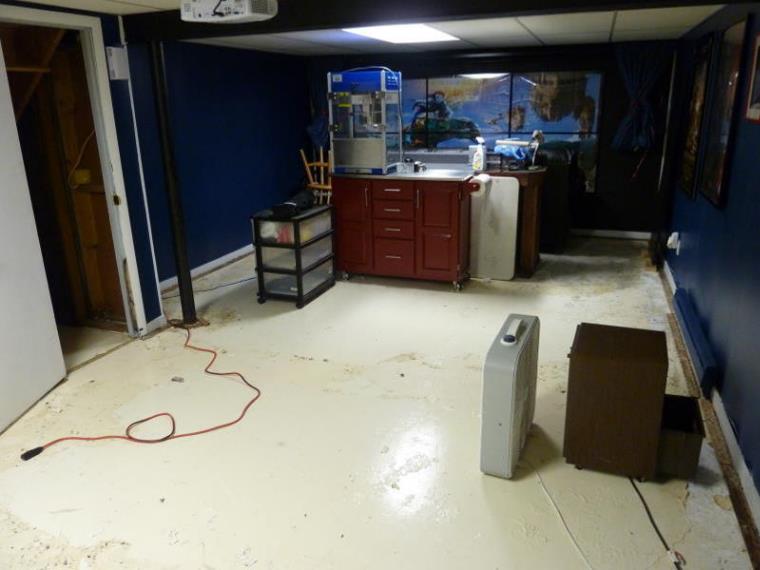
of clear rainwater. Fortunately, most of the water ran out the basement door
into the garage area, where a drain in the middle of the floor drew off
most of the water, preventing it from rising any higher than an inch in the theater area.
But it didn't take much water to do a huge amount of damage to the
theater room - 14 wall panels and all of the wall to wall carpeting were
destroyed. Fortunately, all the furniture and theater equipment was spared,
because most of it either sits up on rubber feet or is stored in carts or
cabinets on wheels, up off the floor. Only a few speakers were sitting
directly on the carpet, and those were moved to higher ground right away,
and their damp bases dried out without any damage.
Below is a pictorial timeline of the events of the flood, and the slow recovery efforts over the following months to bring the Frey Theater back to life... |
|
The Flood |
|
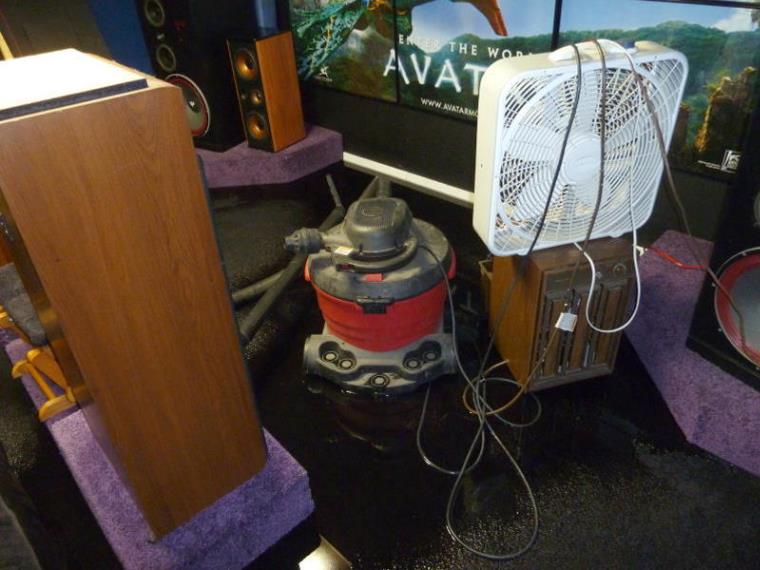
The front of the Frey Theater is seen with the carpet saturated up to and over the top surface. The water started seeping in here on Wednesday night, and I had tried using the shop vac to suck up the excess water. By morning though, it was a lost cause... Fortunately, the purple carpeted stage was originally built on 1" dowel rod legs with rubber feet specifically for water protection, so it and the speakers sitting on it did not get damaged.
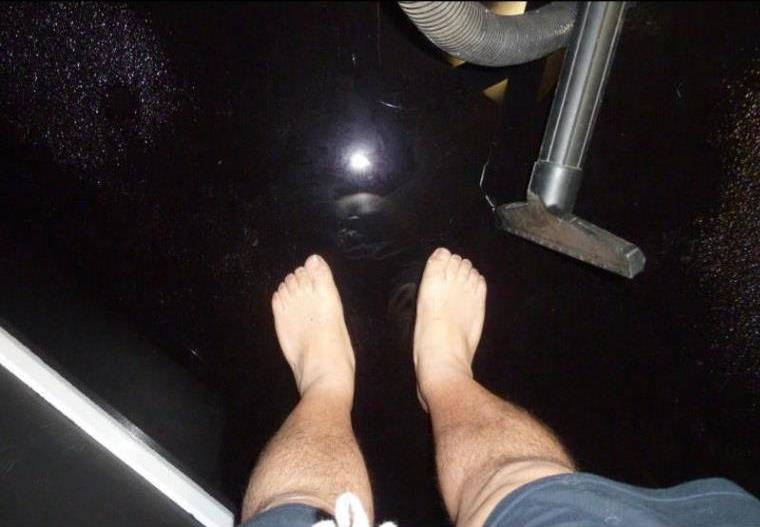
Wet feet! The water here is actually covering my toes, even though you can't really see it.
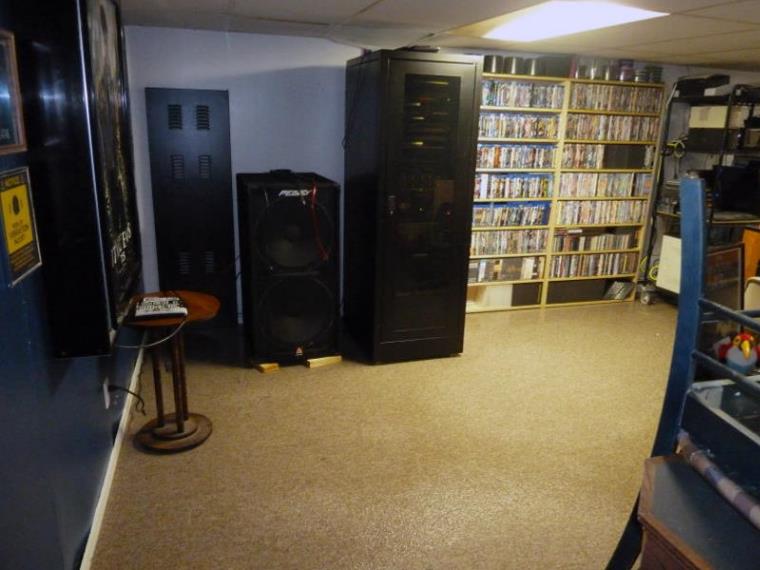
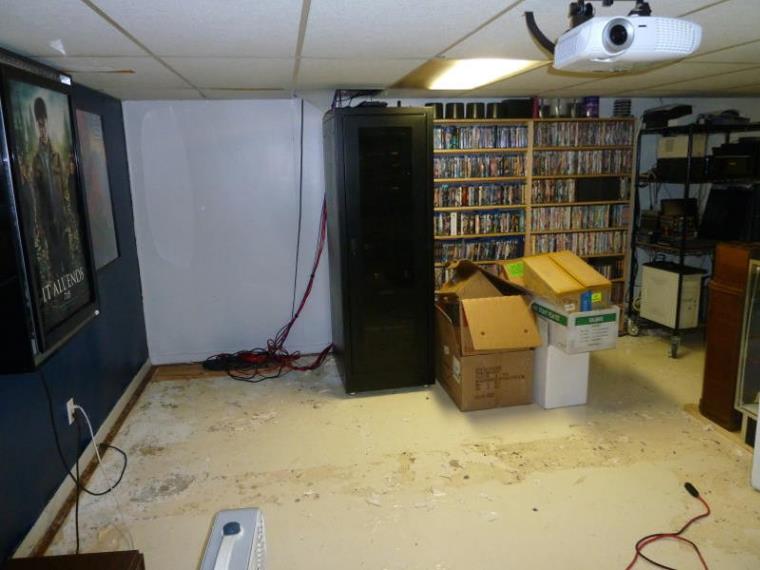
In the rear of the theater, you can see the shiny surface of the water almost reaching the bottom shelf of the media shelves. The wood paneling on the outer walls is already starting to buckle at the bottom from soaking up water.
Fortunately, I had stayed up until 2:30 am the night before, moving some of my possessions that were sitting on the floor of the room and stored in the closets to higher ground.
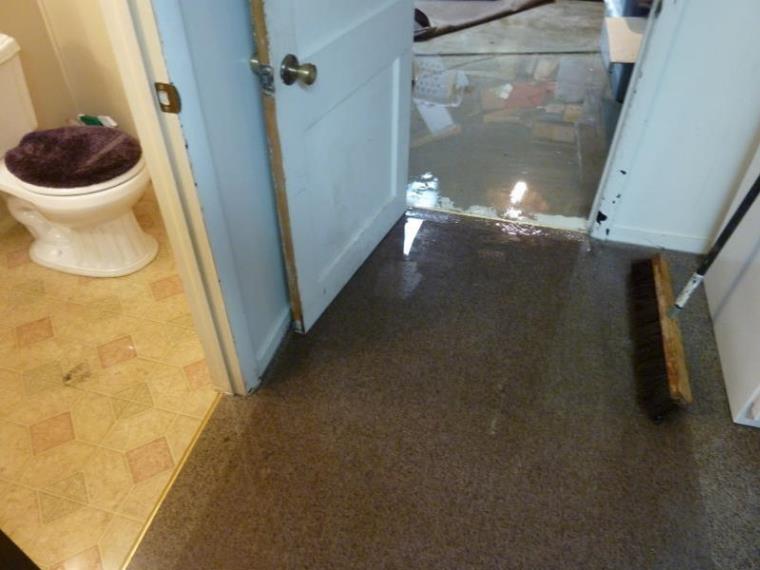
The water was deepest inside the bathroom, a good 2 inches. Because the water was strictly from rain runoff, it was very clear, making it hard to see in these photographs. But, the water is plainly visible here flowing over the door sill into the garage. It continued to flow constantly for over 24 hours before it finally stopped on Friday morning. Sweeping the water out the door with a push broom really didn't help much on Thursday while the water was still flowing. |
|
Damage Removal |
|
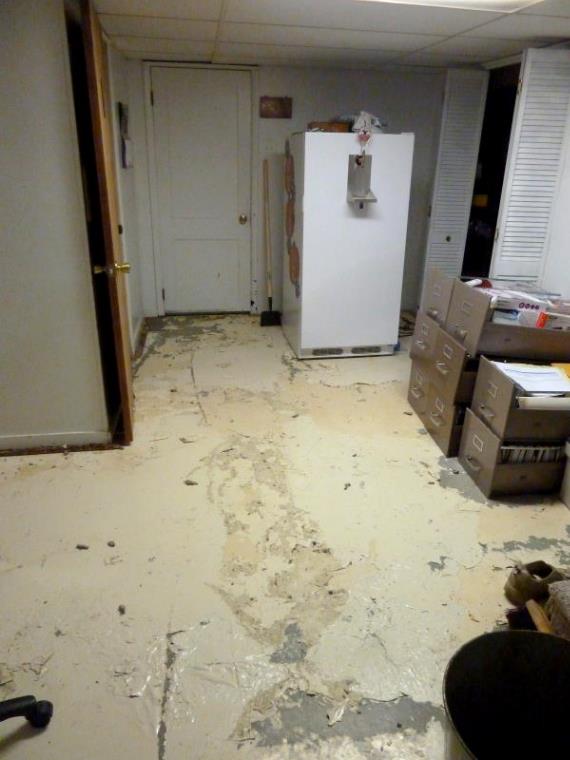
By Sunday I had almost all of the carpet and padding pulled up from the floor. Fans and dehumidifiers were running constantly for the next two weeks.
Under the carpet, the concrete floor had 4 layers of paint on it - and the top layers were starting to peel profusely...
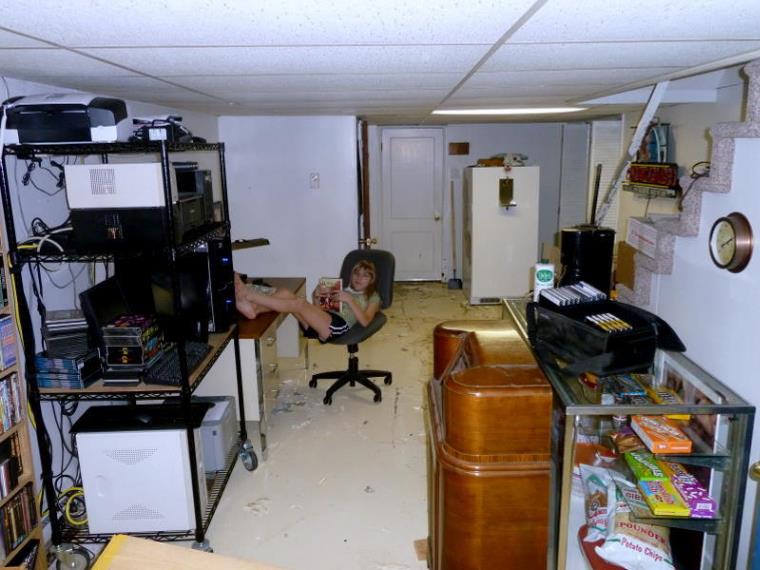
My daughter Elizabeth relaxes comfortably with a good book, as her father slaves away at the destruction...
Removing all the loose paint on the floor was going to be a real nightmare!
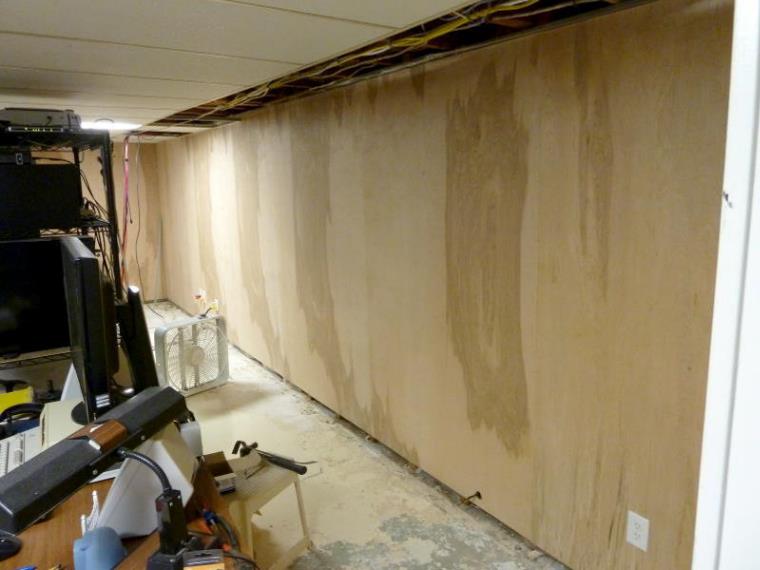
The wooden paneling on the basement walls sucked up the water, and warped severely.
Looking directly down the surface of the theater room wall at the warped panels and baseboard.
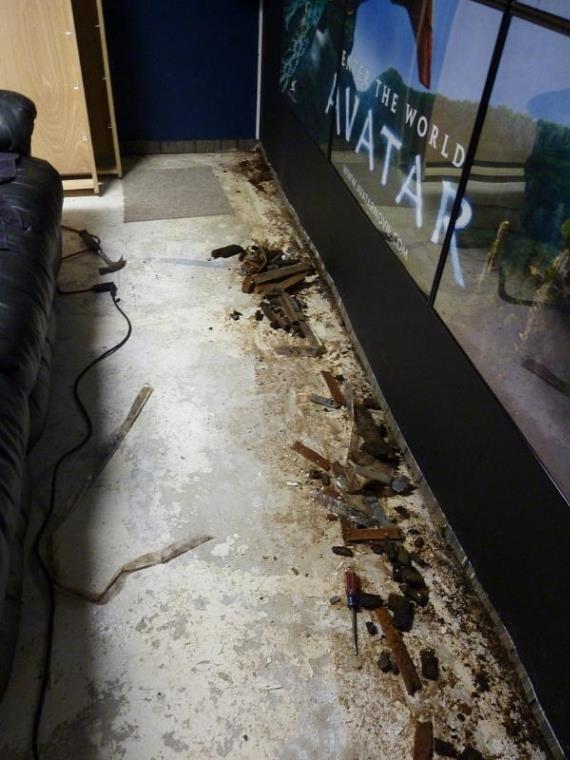
The remains of a sill plate board that ran along the floor of the front wall - I cut 1 1/2 inches off the bottom of the wall panels and found the sill plate was so rotted from previous water seepage that the deteriorating wood was as black as charcoal in some places.
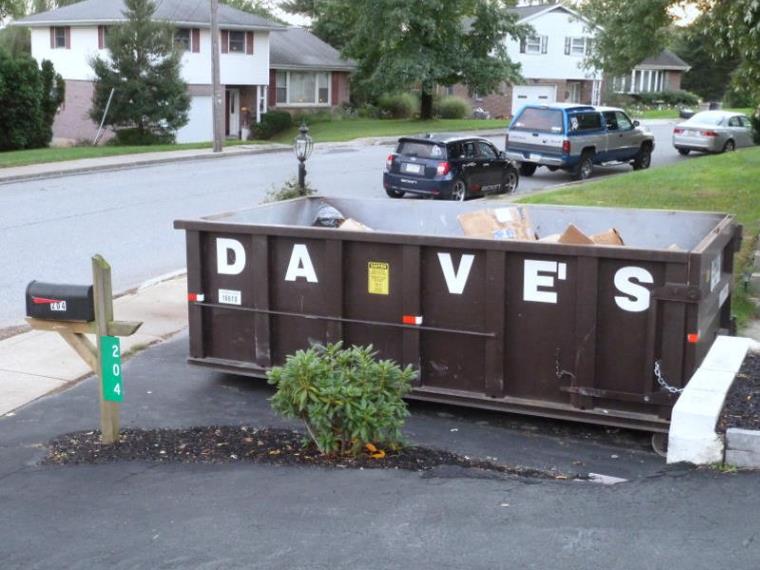
I rented a small roll-off dumpster that was set in my driveway on Saturday, and started filling it up.
|
|
New Wall Panels and Electrical Work |
|
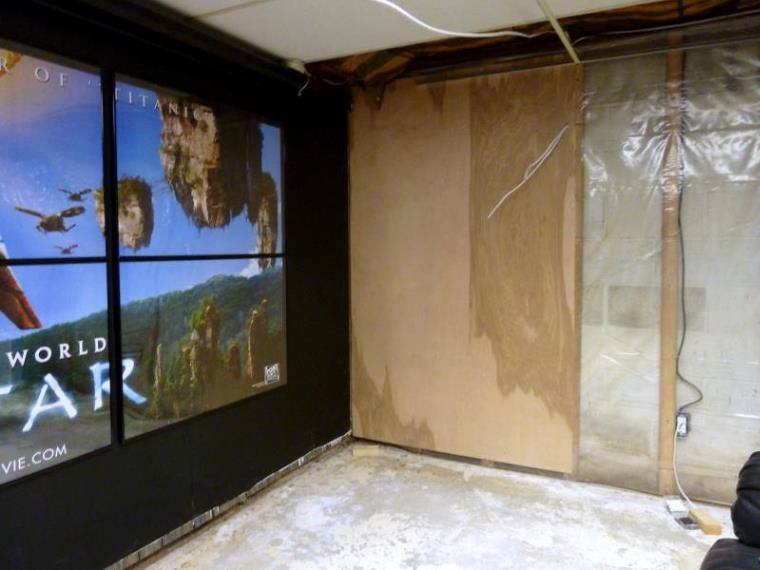
The right side outer wall and rear wall of the basement incurred enough water damage from warping that the wood paneling had to be replaced. It was all 40 year old flakeboard panels that had seen better days and was needing replaced soon anyway. The old paneling was thin and fairly easy to break and pry off the furring strips; I replaced it with 1/4" underlayment plywood, much thicker and harder and hopefully less prone to warping. I also left a 1 1/2 inch gap from the floor to the bottom of the panels, to keep any future water from reaching and damaging the panels. Vinyl baseboard will be installed so it will not soak up any water as well.
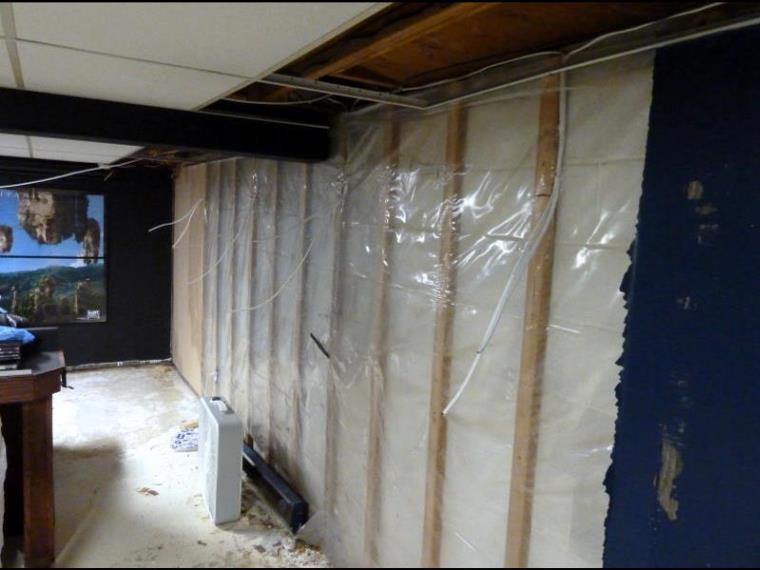
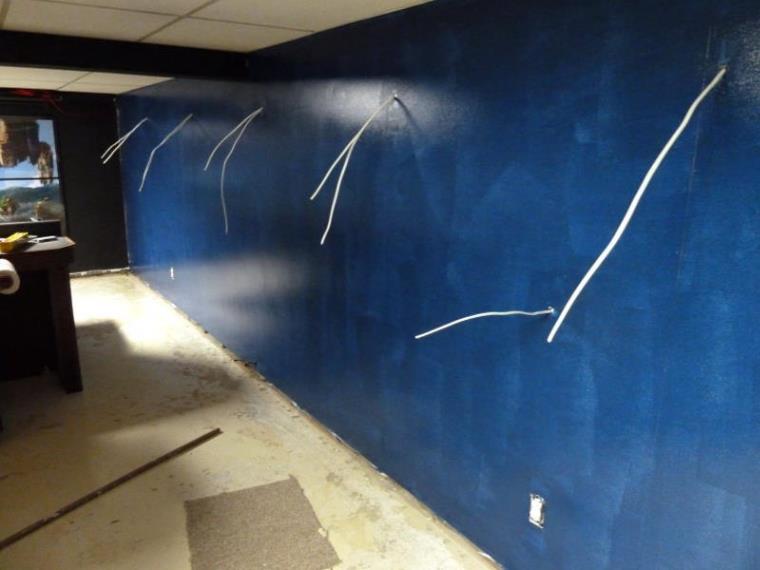
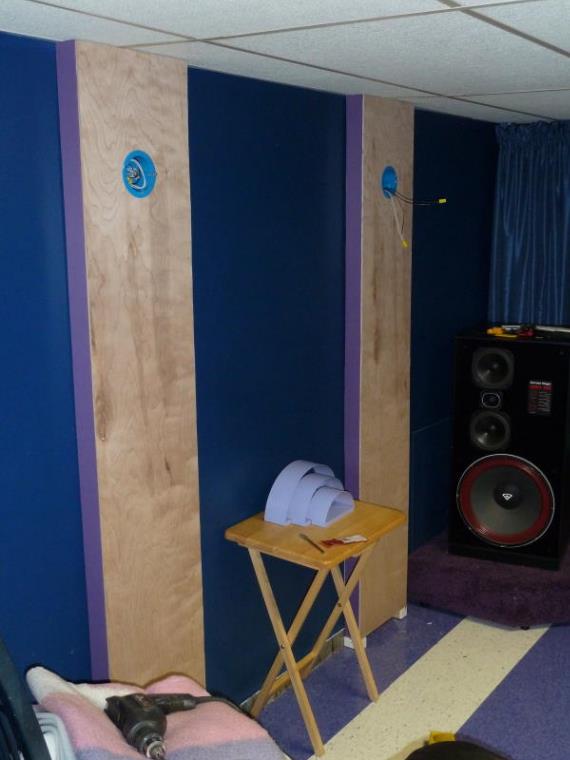
Here most of the right side theater room wall has been removed, and the first new panel installed. I took this opportunity to also start wiring the walls for light sconces, which I had purchased over 4 years ago and never installed. Here you can see the wiring for four of the sconces. There will be a total of seven light sconces - two on the left-side wall and five on this wall.
Underlayment panels are very hard and smooth. They do not have an attractive grain pattern, but since the walls will be painted the grain appearance does not really matter. The wiring for the lights and for the baseboard heater have been tacked to the furring strips and run through holes in the the panels.
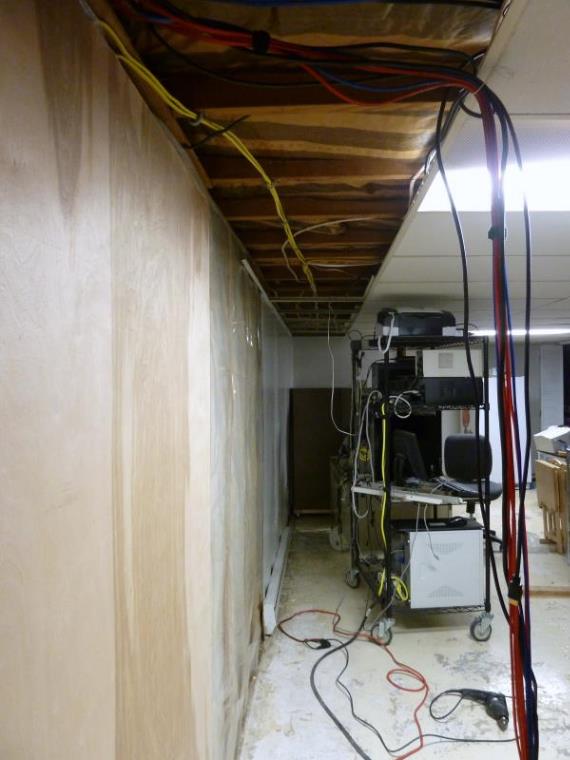
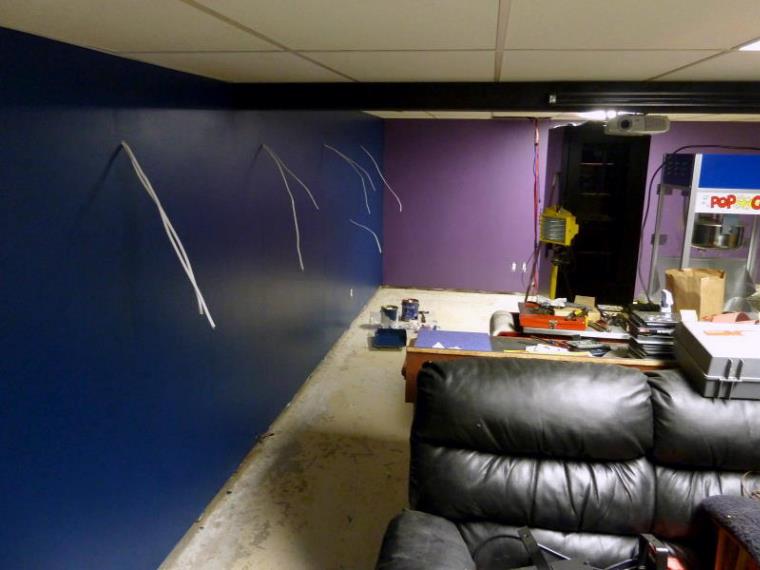
Looking towards the back of the room, all the wall panels for the side wall are installed. The long wire hanging from the ceiling is the switch wire for my marquee poster light box, witch will run to a switch on the wall in the snack bar area - no more plugging a cord into the receptacle to turn the light box on and off!
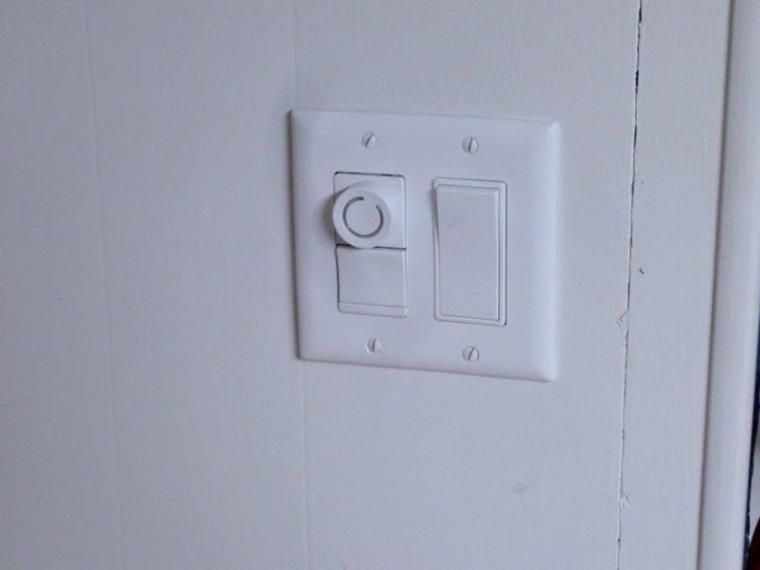
Here is the switch panel installed in the snack bar wall - the switch on the right is for the Marque light box, and the dimmer and switch on the left are for the wall sconce lights. I will be able to dim the lights in the room just as in a real theater!
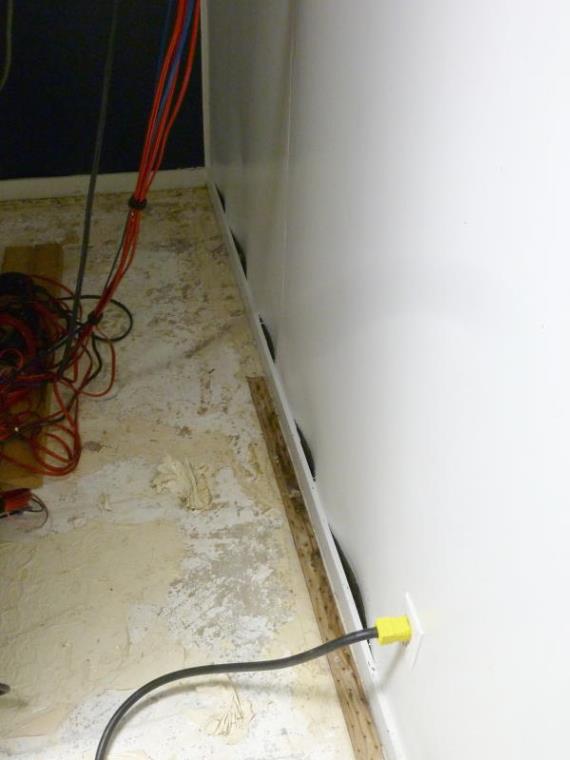
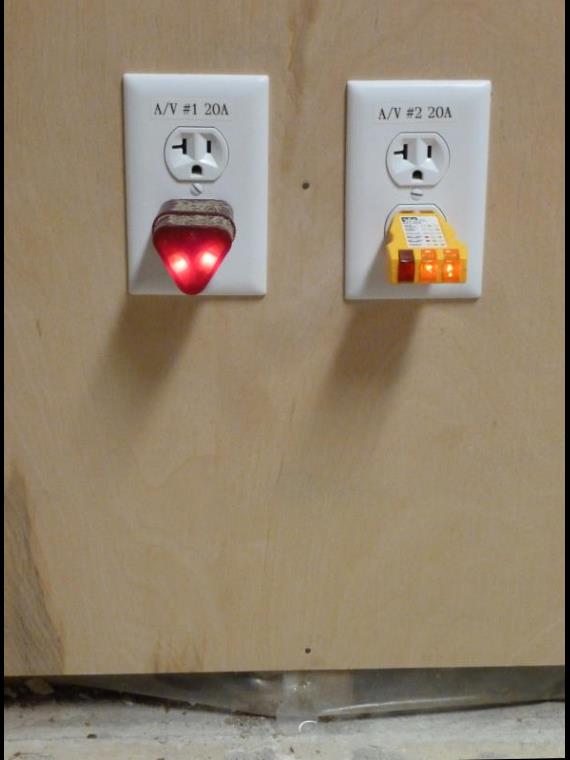
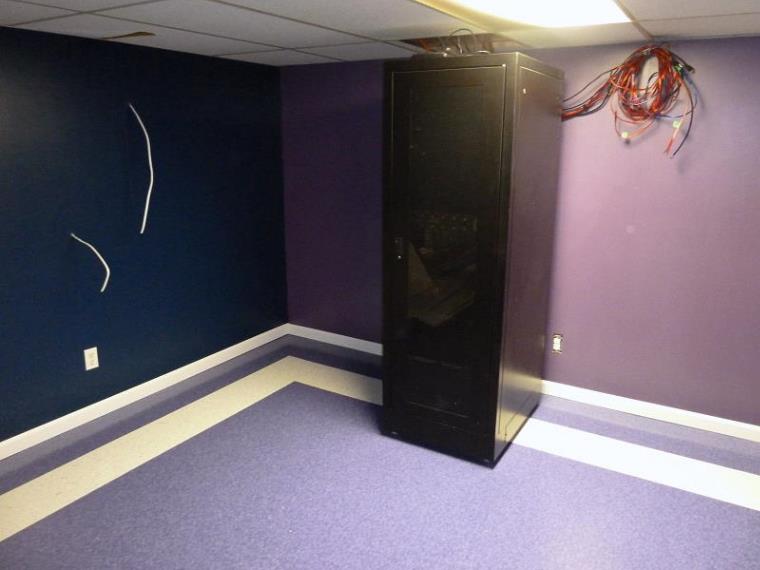
I also installed two dedicated 20 amp circuits on the rear wall of the theater behind the equipment rack, to provide enough power for all the large amplifiers in the sound system.
The two yellow 20A circuits run across the ceiling and through the bathroom and garage to the panel box. Mid-way down the ceiling a third 20A circuit for the popcorn machine in the snack bar area and a 15A circuit for the theater lighting joins the run from the right.
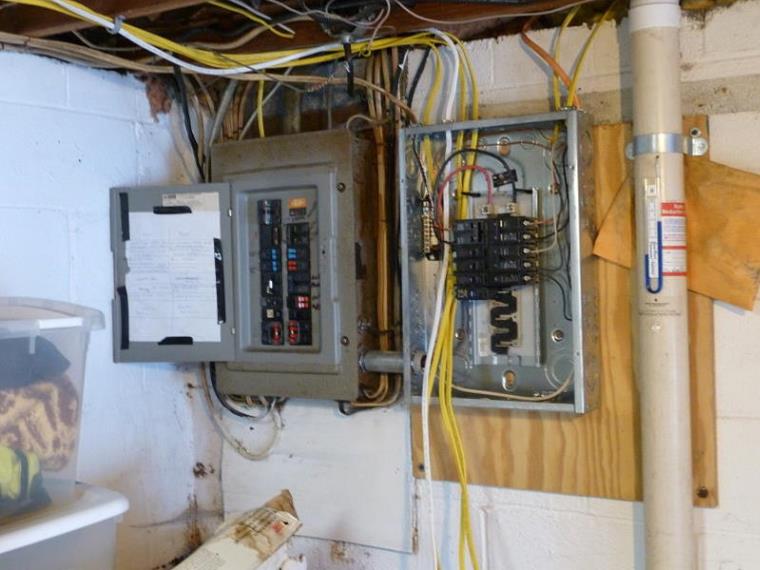
The four new circuits have been dropped into the sub panel and are ready to be connected to breakers.
The panels on the back wall have all been installed.
|
|
Painting the Walls |
|
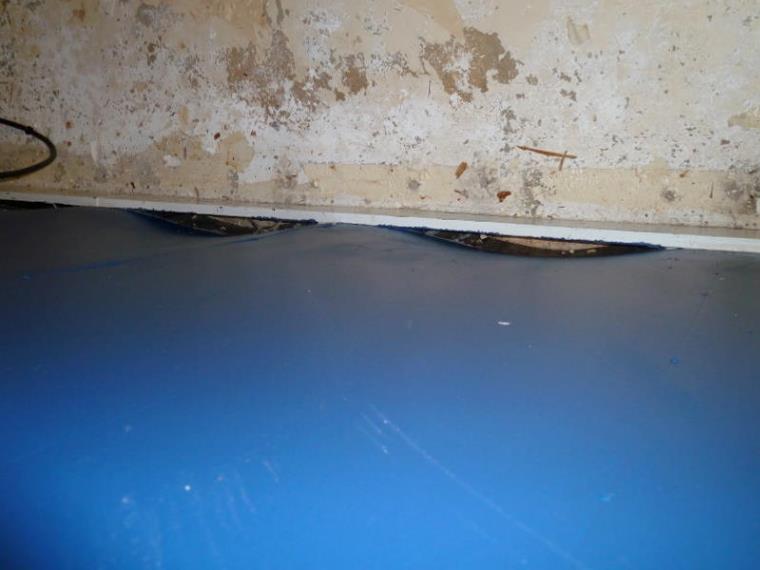
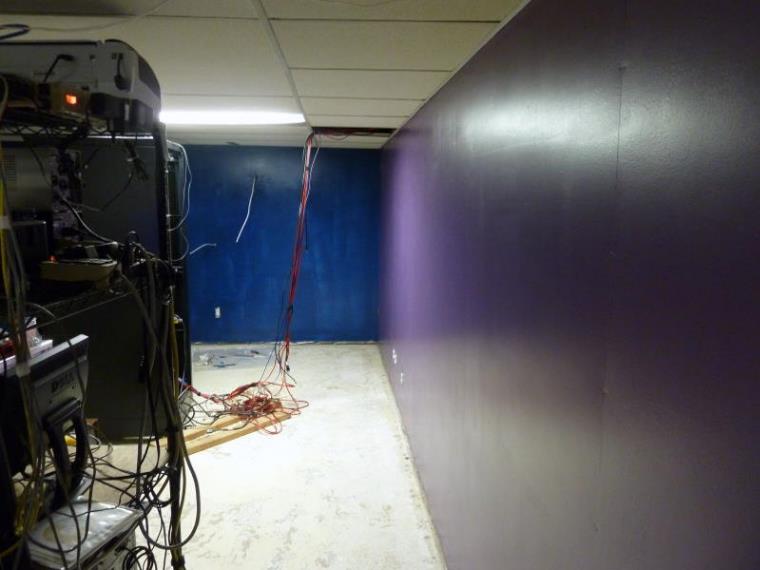
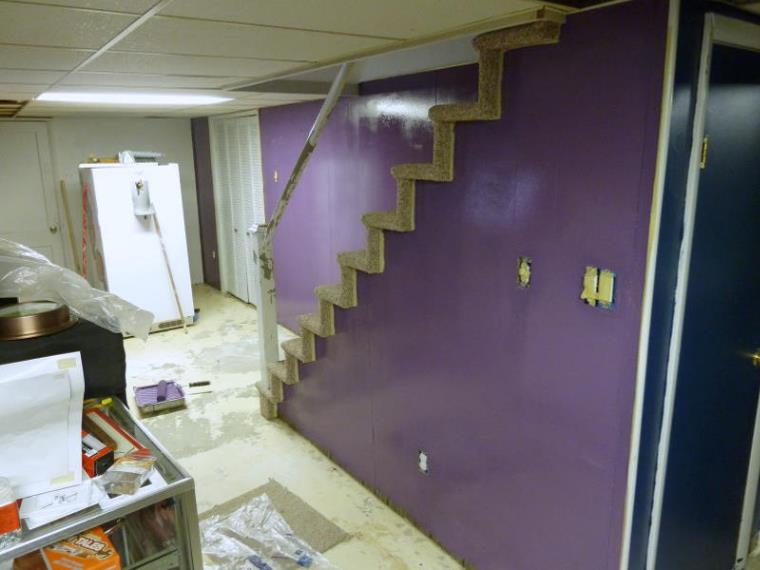
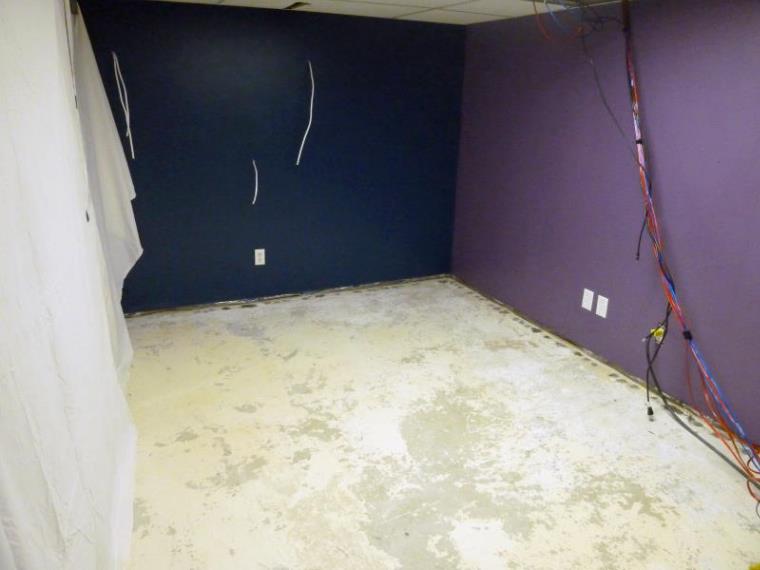
After a coat of sealer is applied to all the new wall panels, the first coat of blue paint is rolled onto the side wall. It will definitely need a second coat of paint at the very least!
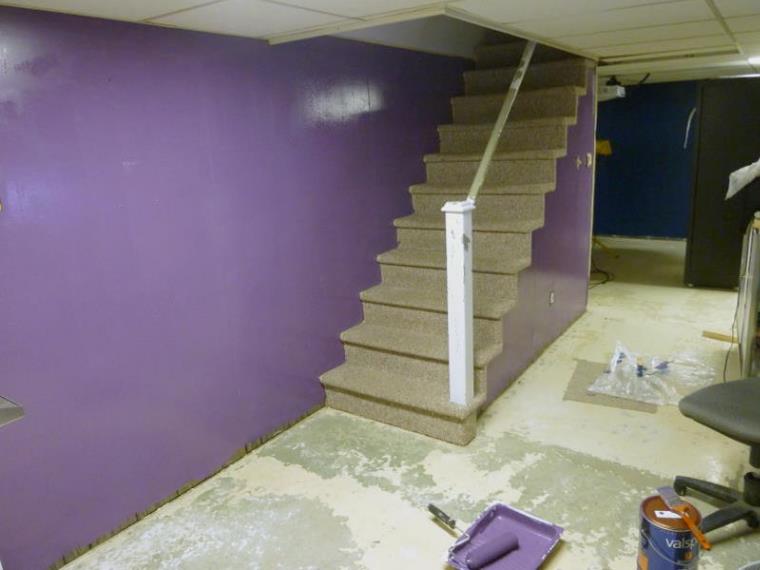
The rear wall is painted an attractive plum color.
The panels on the exterior bathroom walls were also replaced and painted.
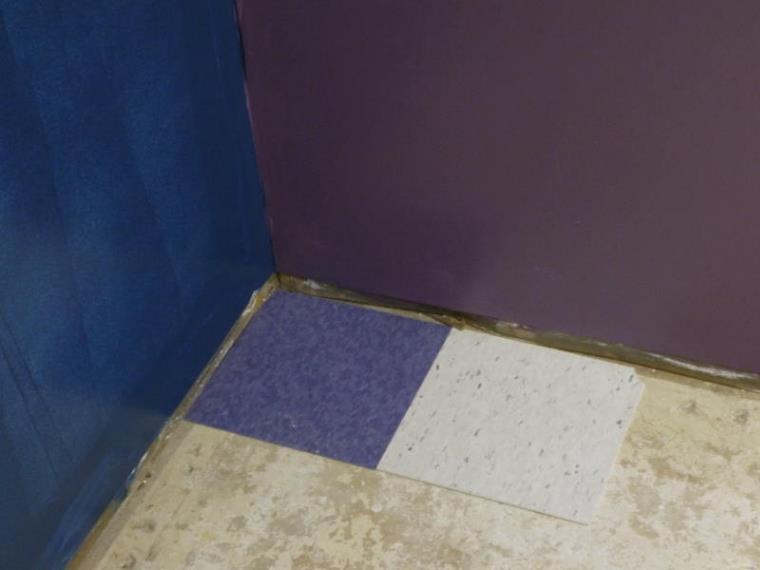
These Armstrong Commercial Vinyl Composite Tiles (VCT) were chosen for the floor - Violet Bloom for the majority of the floor color, and Cirque White to be laid as a sort of border, one row out from every wall...
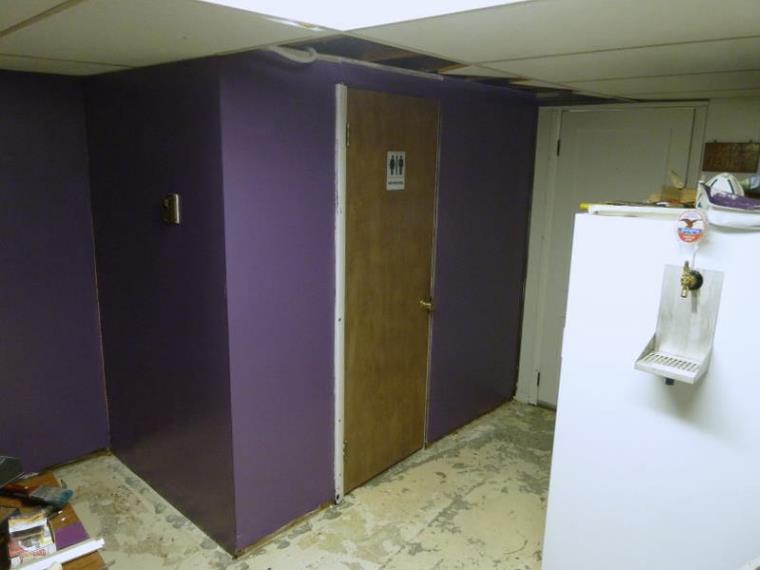
The interior walls in the snack bar area was also painted the plum color.
The paint is still wet!
Finally, after two coats of plum and three coats of blue paint, the wall panels are complete. Time to start on the floor!
|
|
New Floor installation |
|
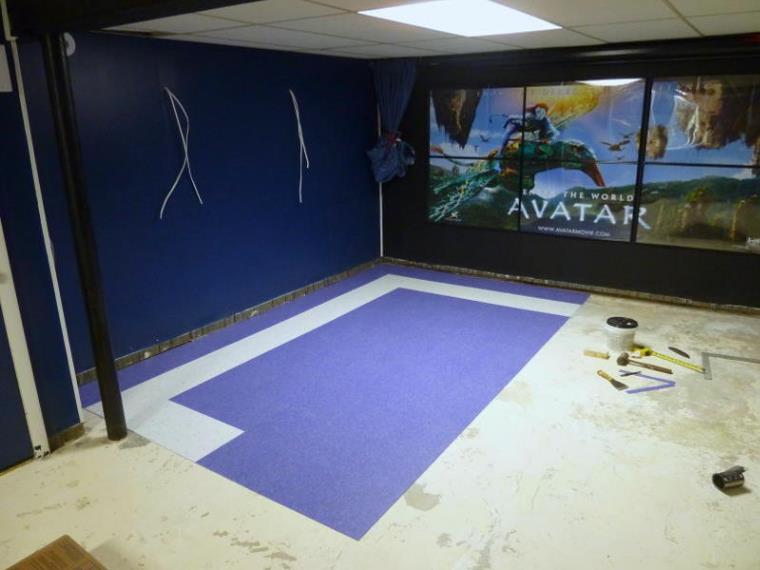
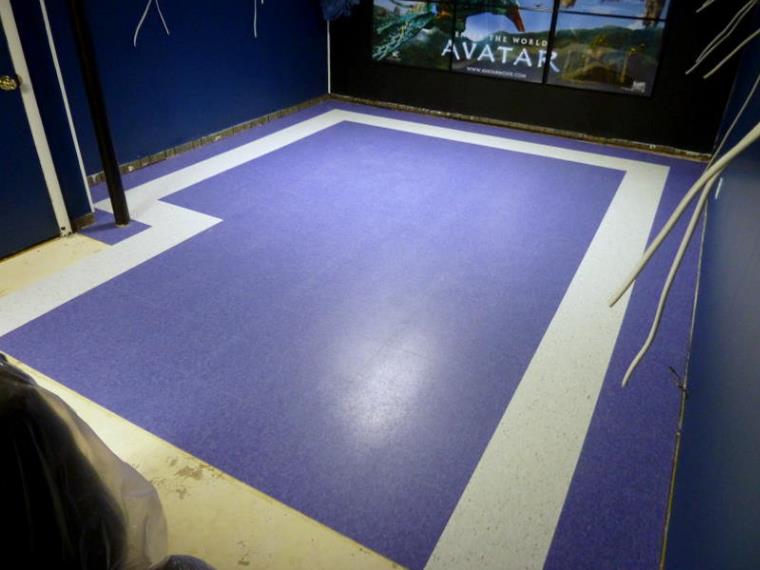
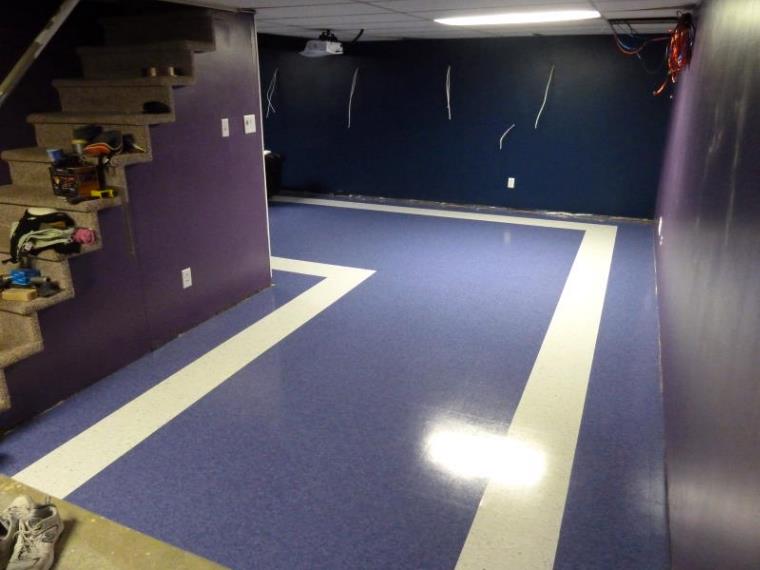
The first area of VCT tile has been laid in the theater area. The special tile adhesive must be spread on the concrete with a notched trowel and then the 12” tile is laid by hand one at a time. The row of white tile border will run completely around the room.
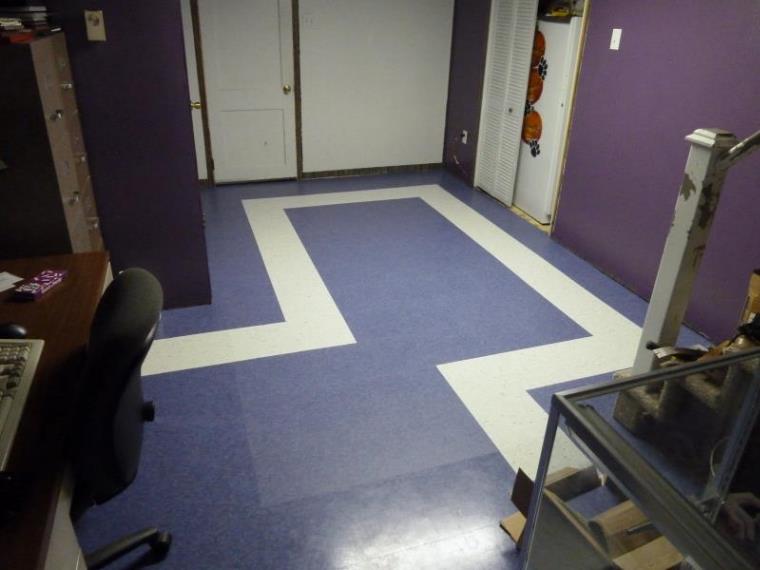
The tile in the front half of the theater room is now installed - 13 squares wide and 12 squares deep.
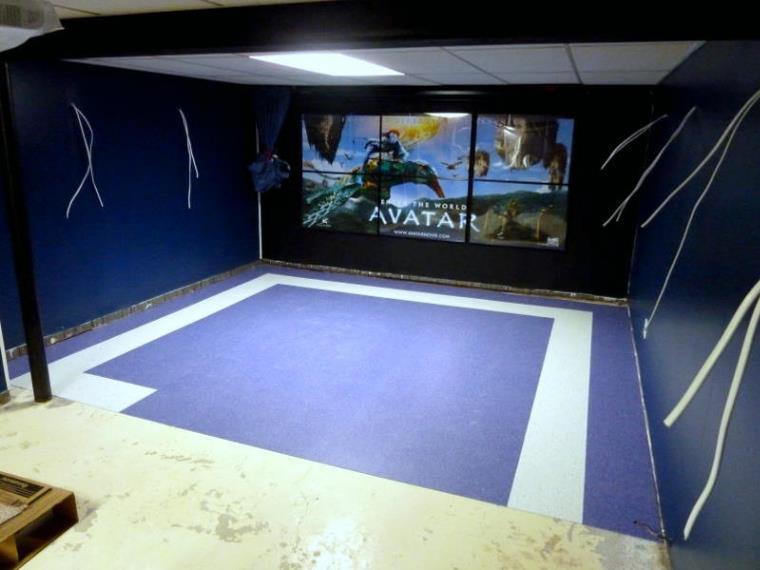
The next section of tile is complete – the white border row is looking pretty good!
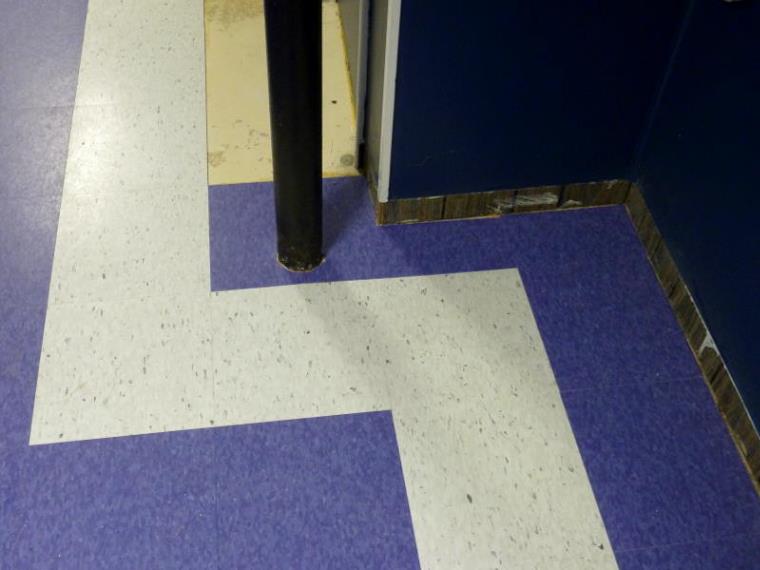
Closer detail of the corner next to the stairwell closet. Cutting and notching the tile around the support pole was especially a challenge, as the tile is quite brittle and easy to break – it is actually made of 85% limestone and 15% vinyl. .
Three coats of acrylic sealer have just been applied to the floor tiles with a lamb’s wool applicator mop, to protect the surface and give it a nice shine.
The front part of the theater was sealed off with some old bed sheets to protect the acrylic finish on the new tiles from construction dust. Concrete patch was applied to all the nail holes made from prying up the carpet tack strips along the walls; the patch material required sanding to smooth out the patches level with the floor – this created a lot of dust which settled on everything in the room.
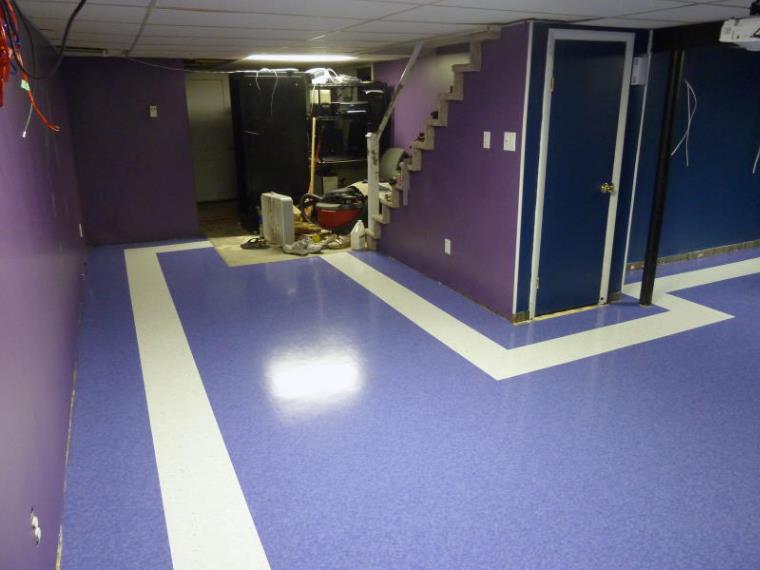
This entire section of tile, from the blue wall to the front edge, was glued down and acrylic-sealed in one single day!
All the remaining large pieces of furniture are crowded into the unfinished back corner so the tile could be laid in the rear of the room. After the acrylic sealer was dry, the heavy pieces were carefully moved back into place on the new floor so the final section could be tiled. The tile is easily dented and marked from heavy items, so pieces of cardboard were laid down to roll the AV cabinet and computer rack across the floor with minimal damage.
The last section of VCT tile in the main room is now installed. The difference in finish between the bare tile and the tile sealed with acrylic can be readily seen.
|
|
Refurnishing the Theater |
|
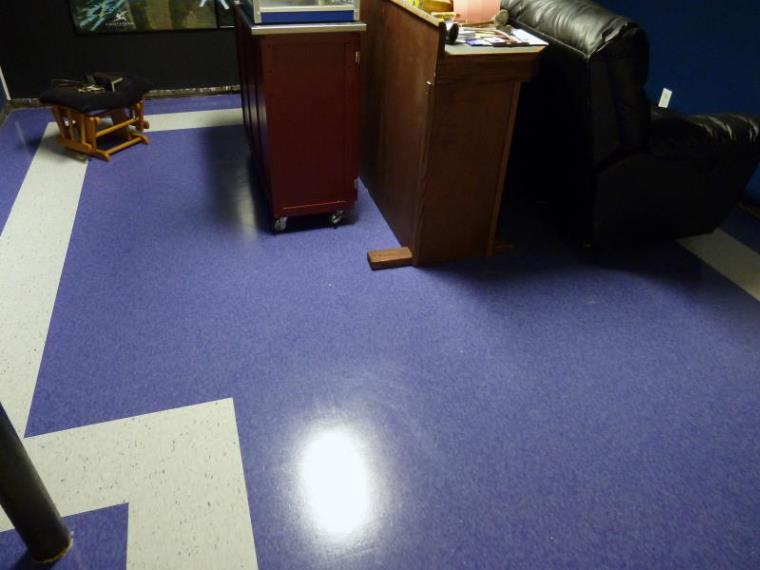
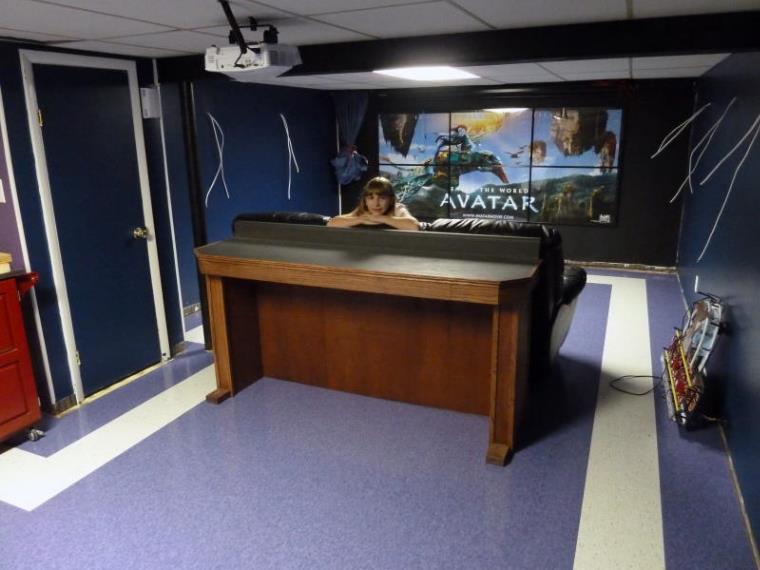
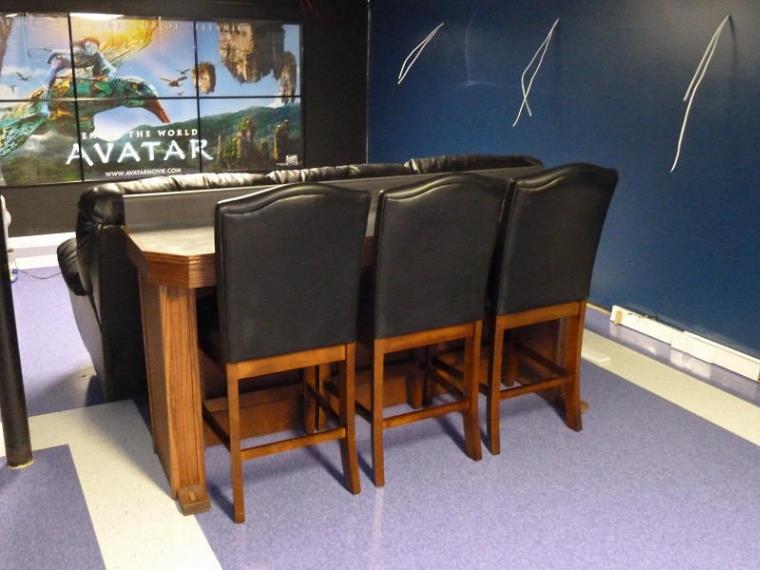
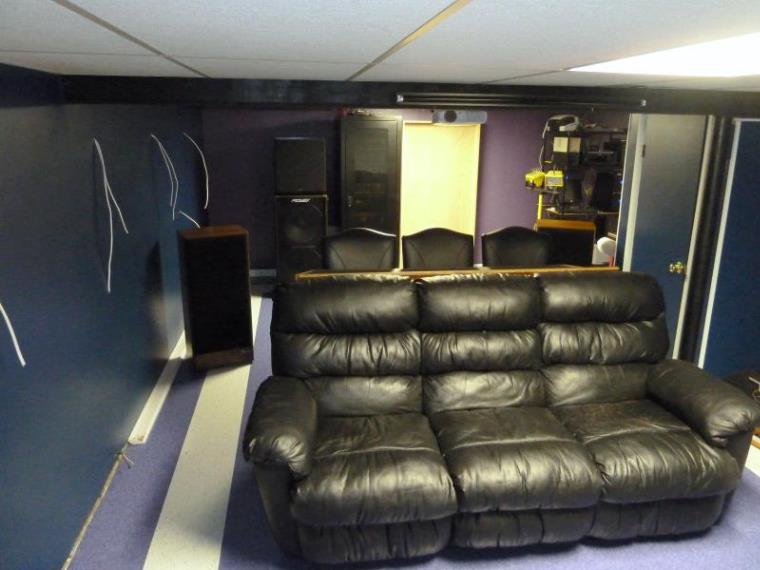
The sofa and bar counter are back in place on the new floor. My daughter checks out the new digs for the “new and improved” Frey Theater, as it slowly takes shape once again!
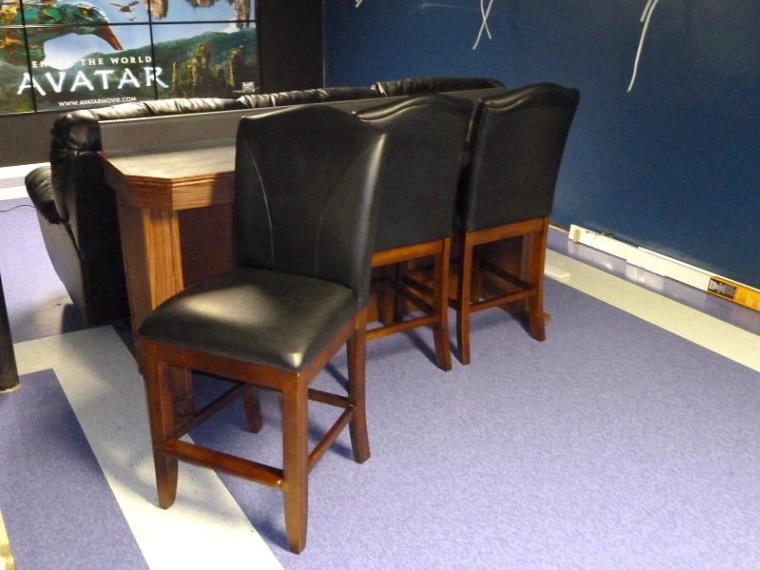
Three cherry and black leather barstools were purchased locally from an ad on Craigslist. They definitely match the bar and the sofa perfectly!
The three 25” bar stools are only a few years old and cost over $1200 new, according to the seller. I purchased them for just $95 each – an awesome deal!
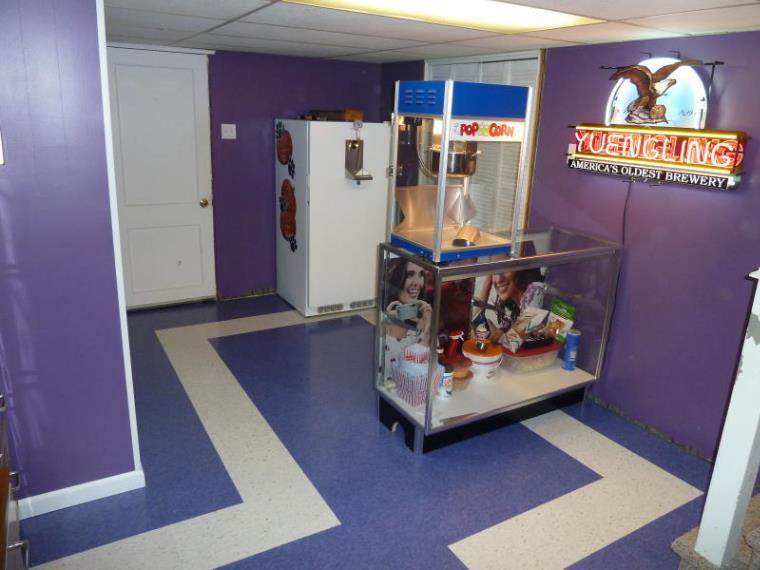
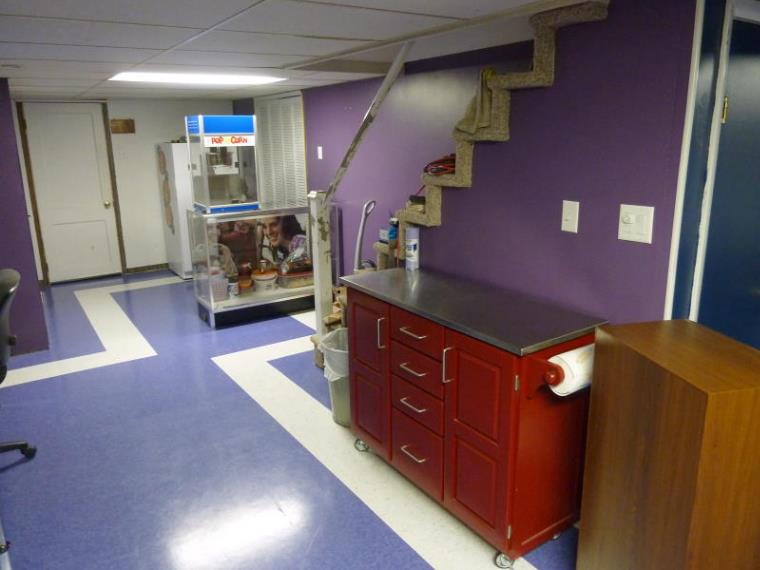
I decided to open up the snack bar area so there is more room for people to move around during intermissions or snack breaks. The glass candy counter and commercial popcorn machine were moved over near the keg refrigerator, creating a nice “refreshment area.”
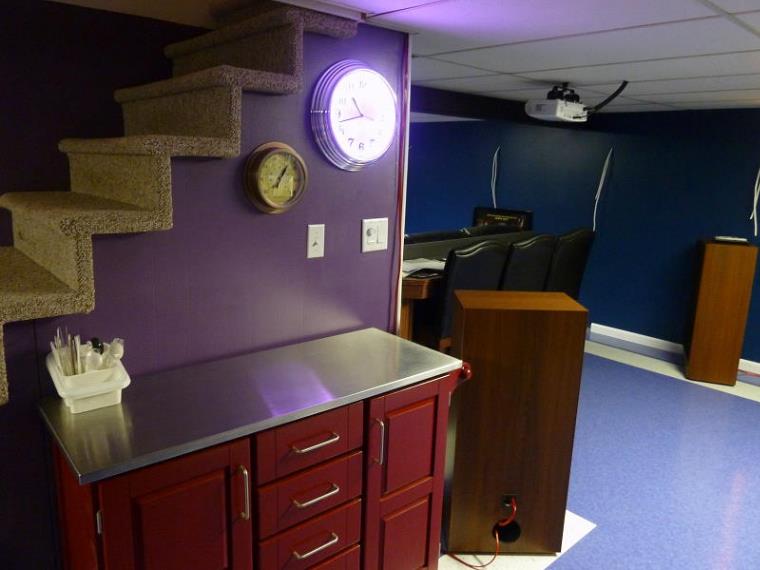
The red kitchen cart has been returned to its original position against wall under the stairs. Snacks and drinks are set out on the stainless steel counter top for all theater guests to eat during snack breaks.
White vinyl baseboards will be installed along the walls to replace the wood baseboards that sucked up water from the flood. Vinyl baseboards will be impervious to water damage if any flooding of the basement ever occurs in the future. Here two pieces of baseboard are stood up against the walls just to check the finished appearance – looks great!
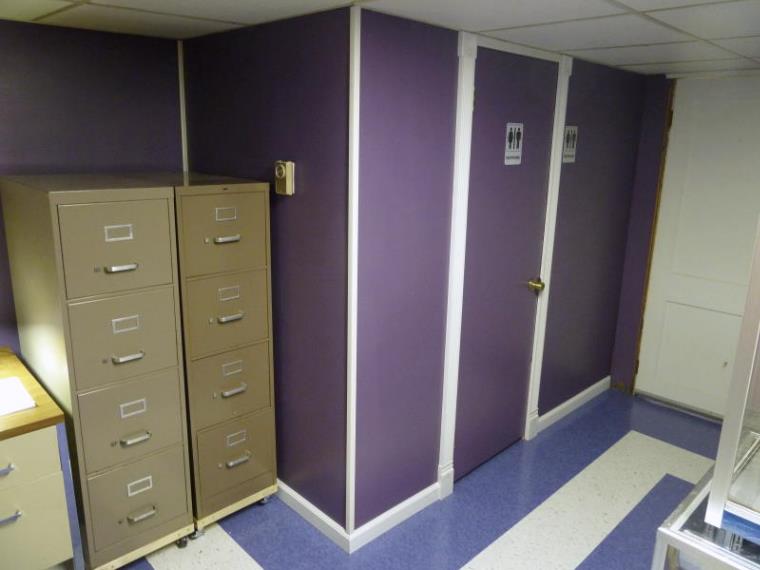
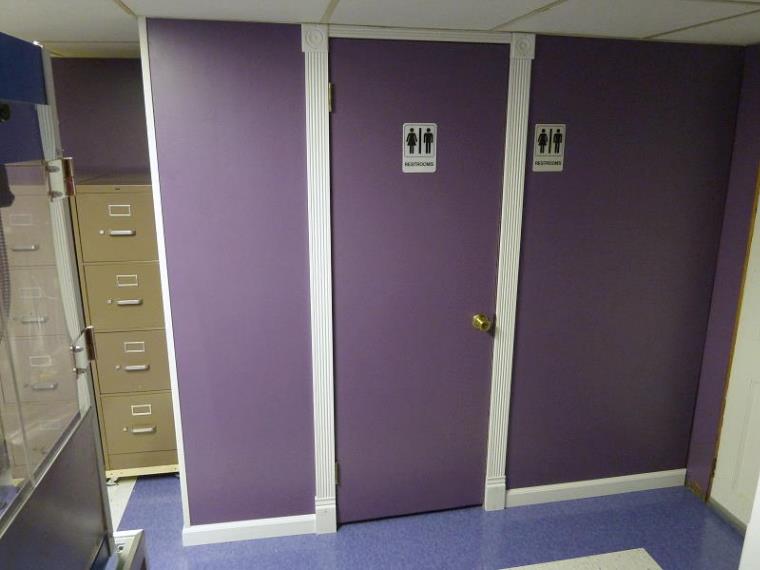
The bathroom walls are the first to have the baseboard and door trim installed. A door sill will need to be added to finish off the transition from the VCT tile to the vinyl flooring inside the bathroom.
Which way to the restroom?
The Frey Theater lives again! The stage and all the speakers have been moved from the storage shed and back into the theater room – won’t be long now until the theater is back into operation!
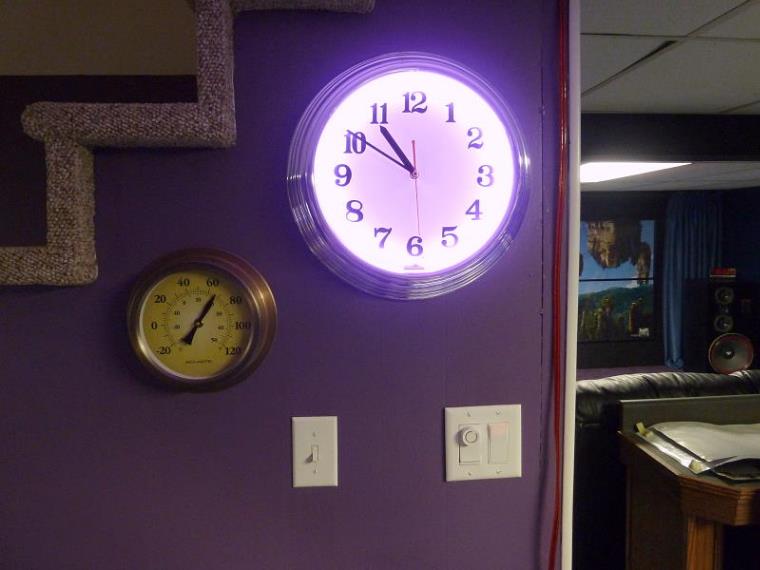
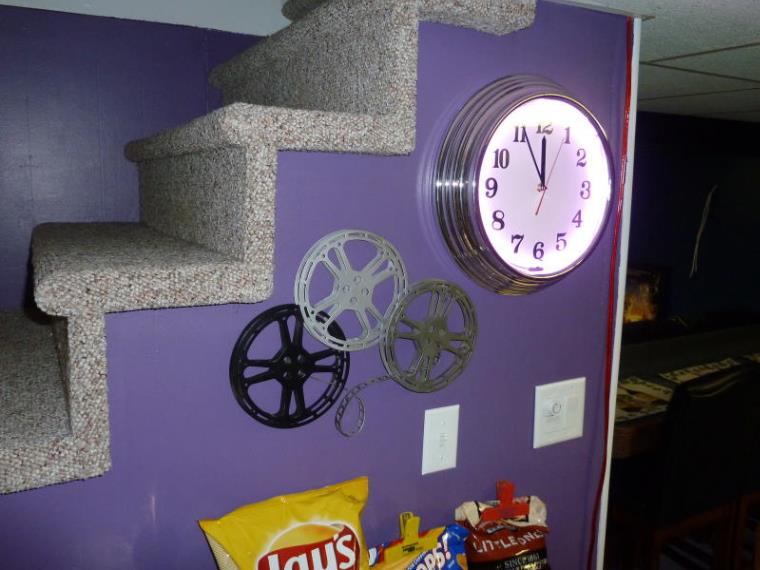
A new addition to the snack bar area is this wall clock with a purple neon face, to match the new room décor.
The neon is a light purple color, and blends well with the plum walls - it's hard to see the actual color in these photos.
A view from the stage looking towards the rear of the theater area – The rear speakers and subwoofers, and the AV Cabinet, are back in their places. I moved one of the media shelves in place to verify the mounting positions of the shelves – but they will be getting a few coats of paint before being re-installed…
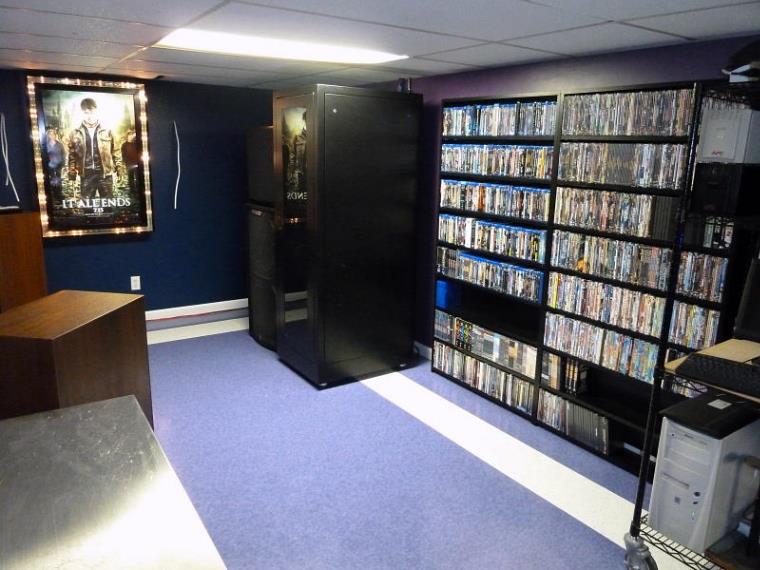
The media shelves were painted with a coat of primer and two coats of black paint, and have now been mounted back onto the walls and restocked with my movies. The black definitely looks much better than the bare wood shelves they were before the flood.
|
|
Movie Nights Return to The Frey Theater! |
|
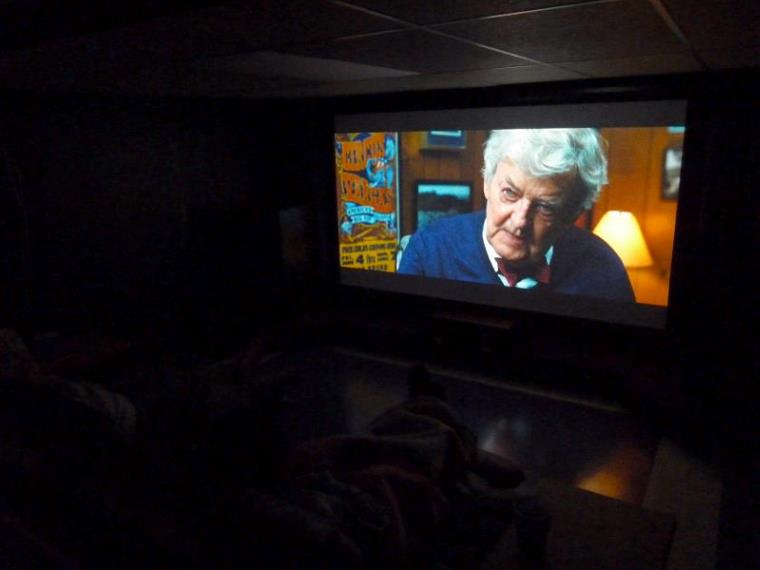
On Wednesday, November 2nd , 2011, exactly 8 weeks after the night Tropical storm Lee flooded the basement, The Frey Theater was host to the first movie in the newly refurbished theater room. My mother and a neighbor can be vaguely seen here in the dark, reclining in the sofa while watching “Water for Elephants.” This was a trial run for the following night, when Monthly Movie Nights would finally resume their normal schedule.
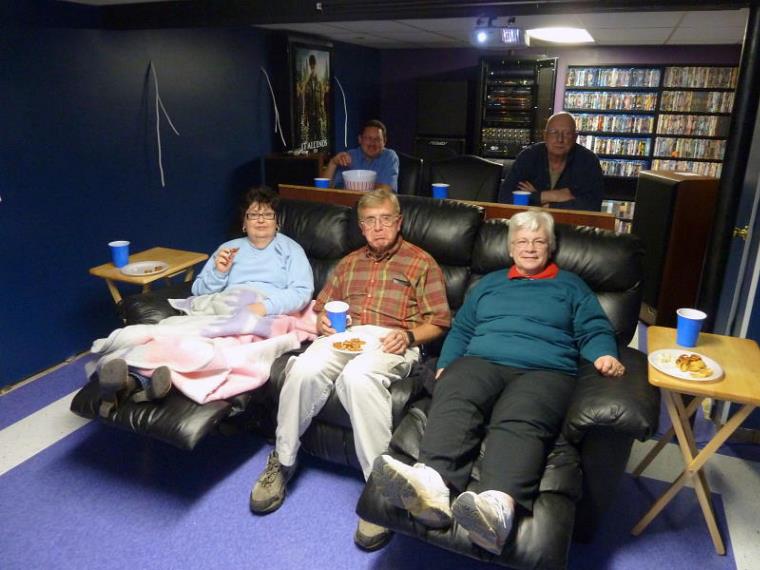
The November 3rd Monthly Movie Night: A crowd of six gathered for a showing of “Captain America: The First Avenger.” Seen here in the front row are Carolyn Frey, Fred Rowe, and Fran Brewer; in the rear, Dennis Snavely and Ken Wiggins, with an empty seat in the middle for yours truly…
Dennis Snavely presented me this attractive “theater-warming gift” at the Movie Night - a decorative wall collage of movie projector reels… Nice!
Intermission – time to eat!
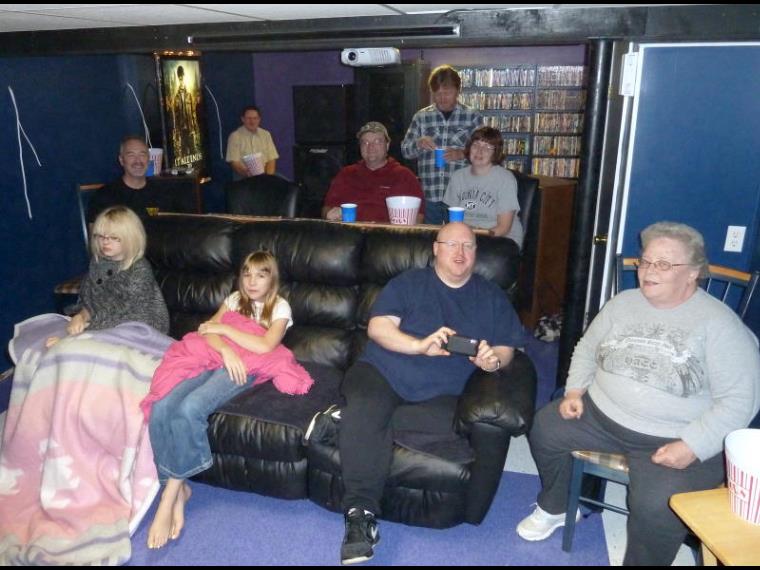
The second showing of Captain America was held on Saturday night, November 5th, and featured a bit larger crowd of 10 guests. In the front row, Anna Frey, Elizabeth Frey Mile Weiler, Kathy Weiler; in the rear, Craig Williams, Dennis Snavely, Kyle Mabry, John Kropleski, and Belinda Mabry. 10 guests is a Full House!
|
|
Wall Pillars and Sconces |
|
|
|
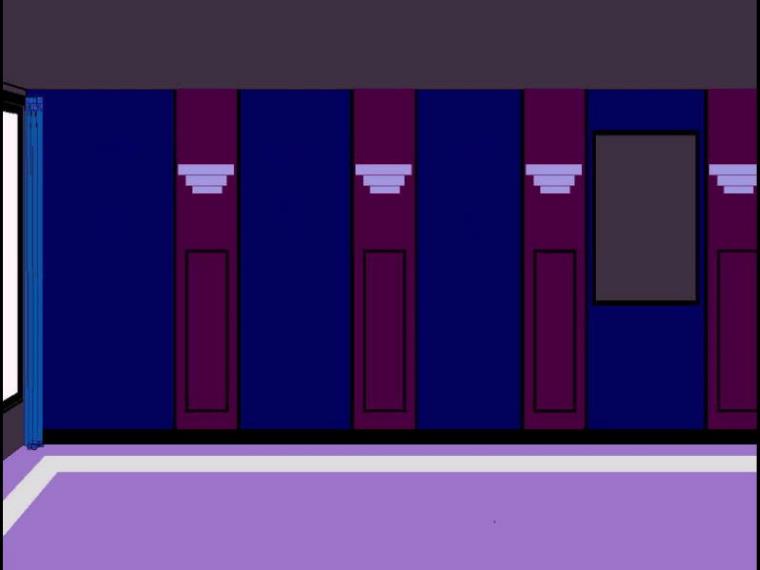
Here is an artist’s rendering of the completed Frey Theater, with the soon-to-be-installed wall columns and light sconces in place. The columns will be rectangular, 14’ wide and 3” deep, and constructed with a framework of 2x3 lumber covered with underlayment panel and corner trim, and then painted the same plum color as the rear walls. The three-ring metal Art Deco light sconces will be painted a lavender color similar to the floor tile color, and will be dimmable to create a realistic theater experience. Sound absorption panels may eventually be mounted below the sconces on the face of the columns to help alleviate sound reflections in the room.
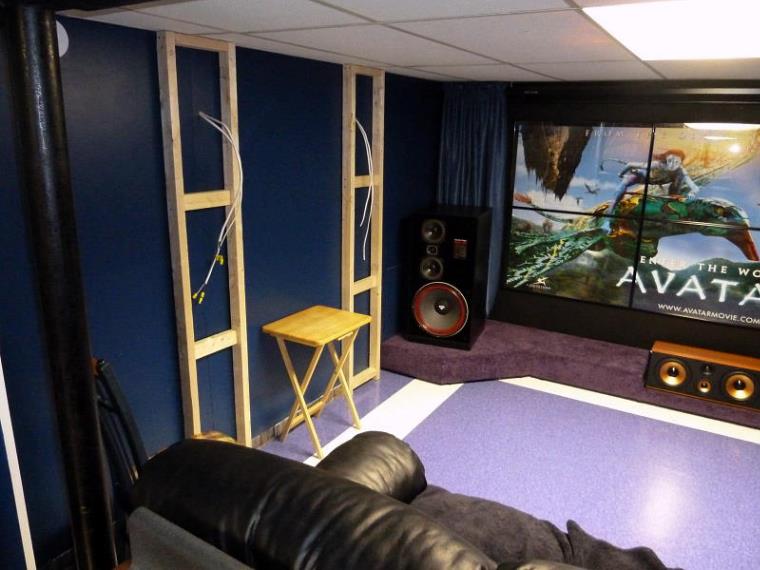
The two 2x3 frames for the wall columns on the left side wall of the theater room are built. I stood them up against the wall just to see what they may look like when the columns are totally finished…
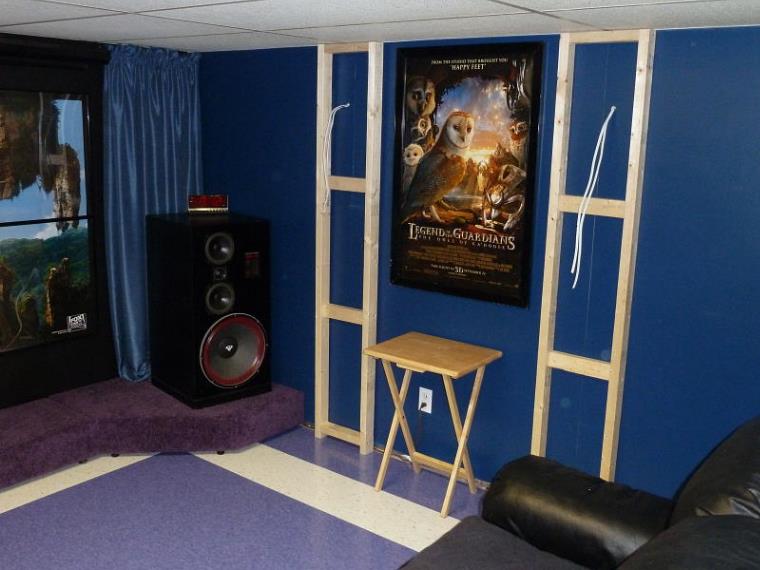
Two more frames were constructed and set against the right side wall. There will be a total of 5 columns mounted on this wall. Just three more frames to go!
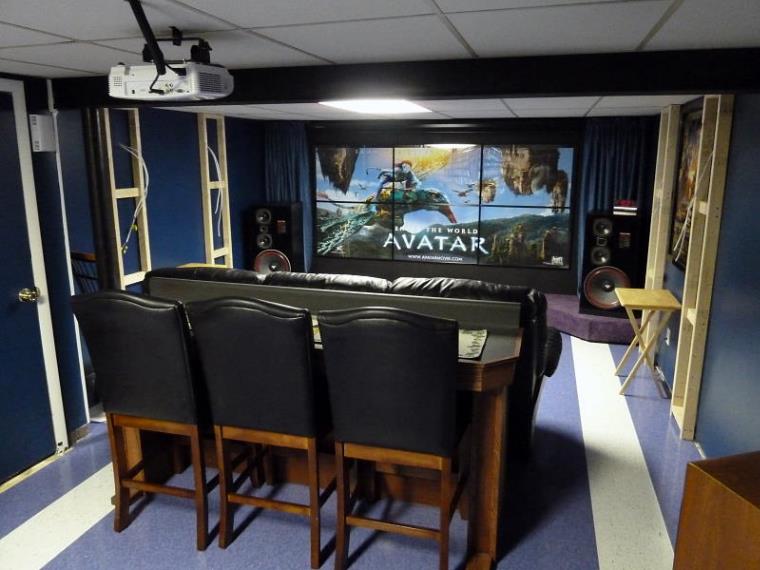
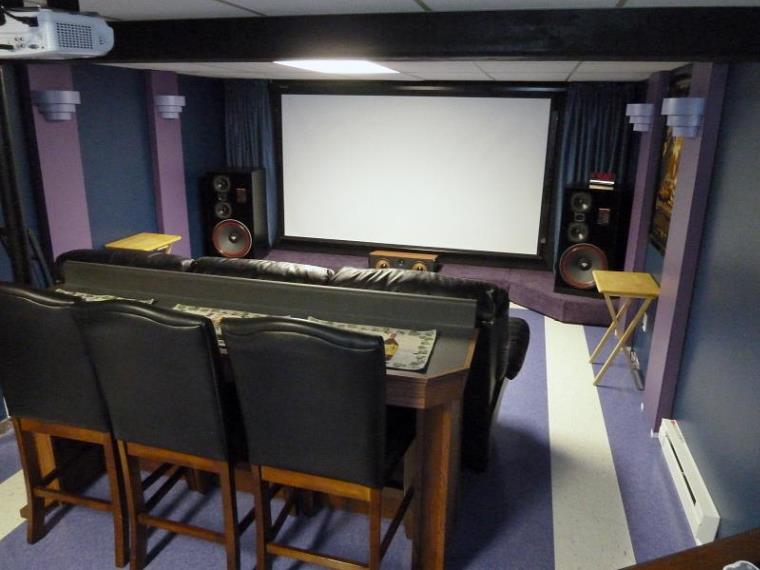
A view of all four column frames from the back of the theater – I think these columns will make the theater room feel a little smaller, or perhaps, a bit “cozier”…
The front panels have been installed on the left wall columns, and the light boxes wired.
All four columns with the front panels installed.
A coat of primer and two coats of plum paint were applied to the panels.
All four panels are painted and wired, and ready for the sconce lights.
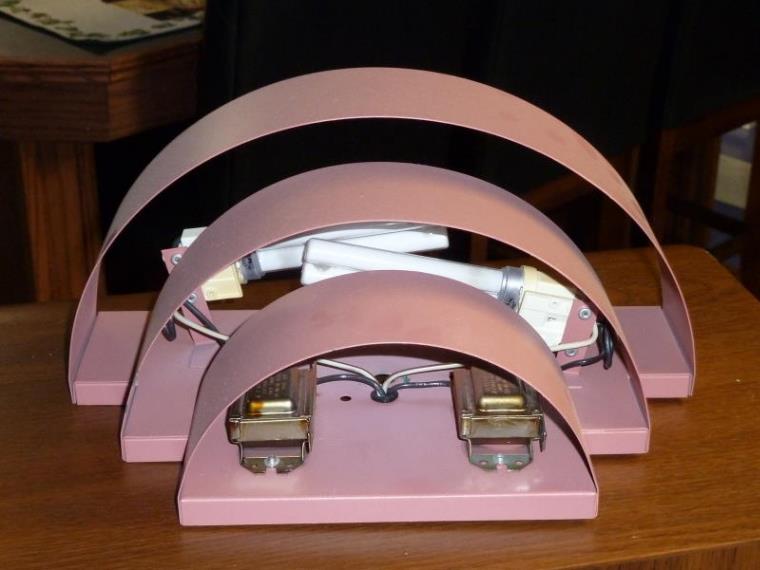
Here is a close up of the wall sconce lights I purchased 5 years ago for my theater room. They are fluorescent fixtures, which are not dimmable, so they will need to be converted to incandescent sockets so the dimmer control in the theater will work with them. All the fluorescent sockets and transformers were removed by drilling out the eight mounting rivets in each light.
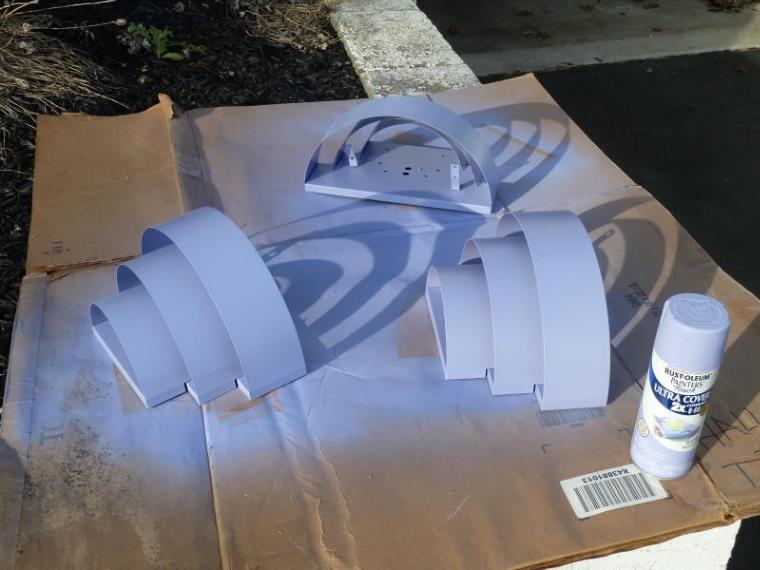
After the guts of the sconce lights were removed, the empty housings were painted a French Lilac color.
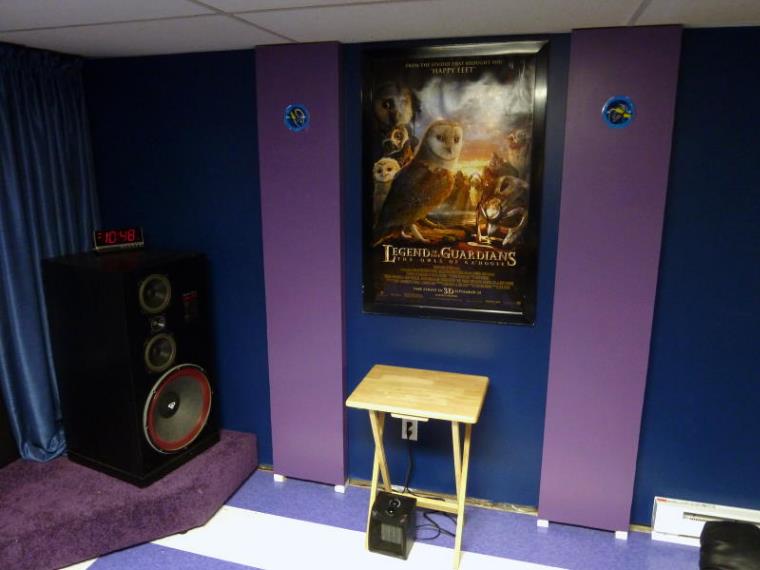
The four sconce lights are now mounted on the columns.
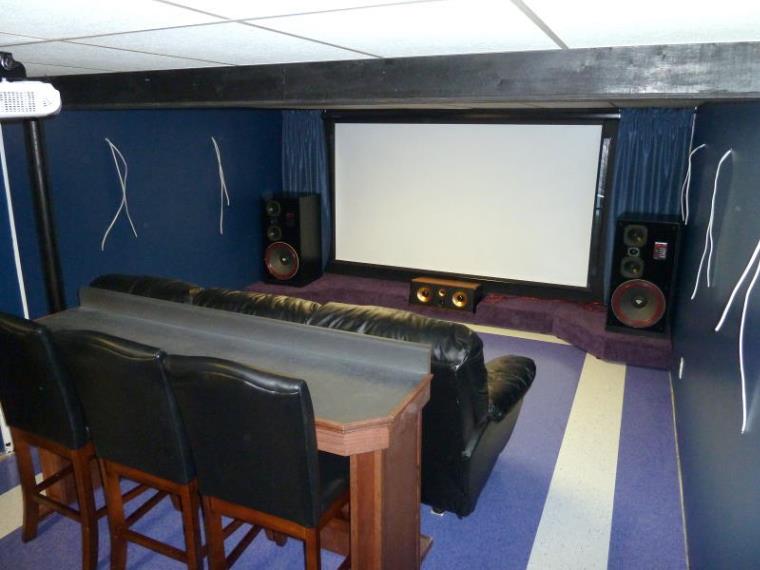
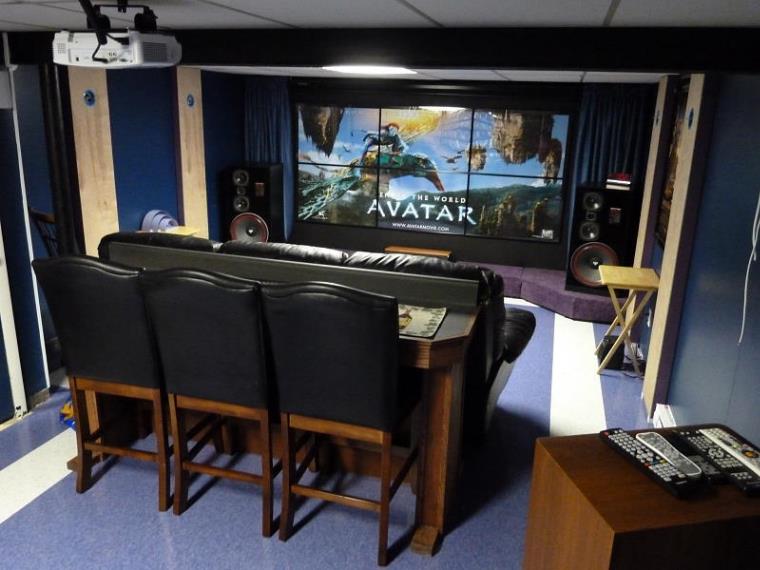
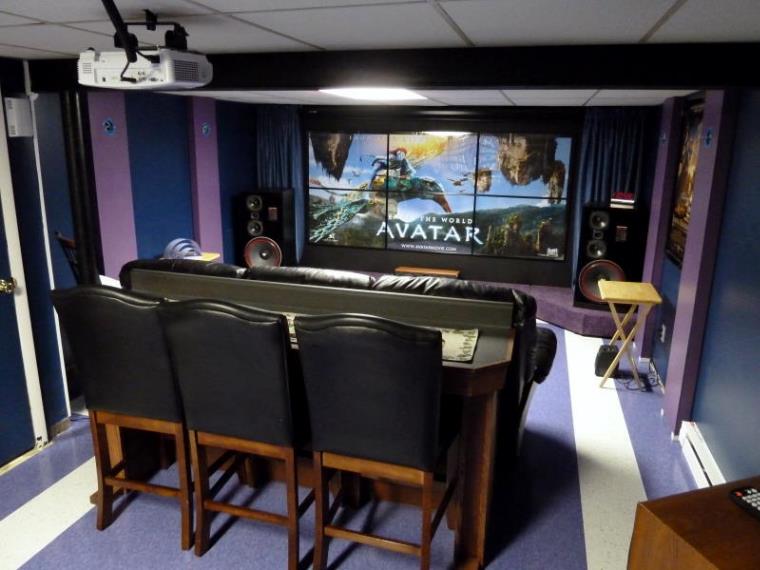
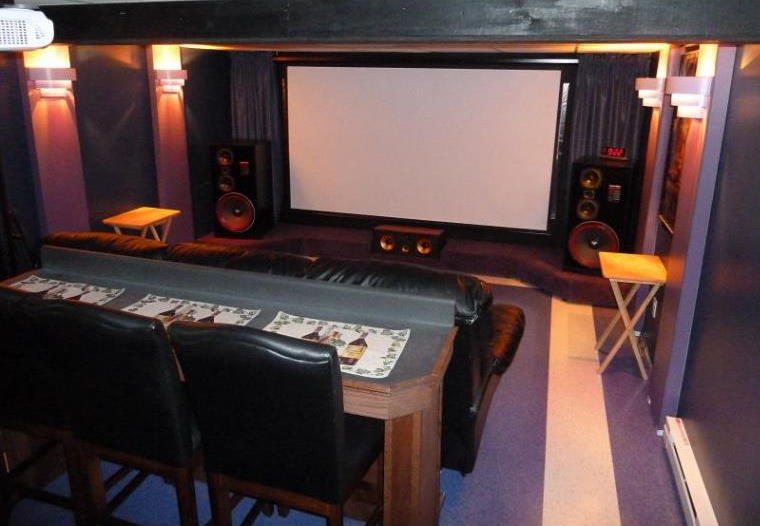
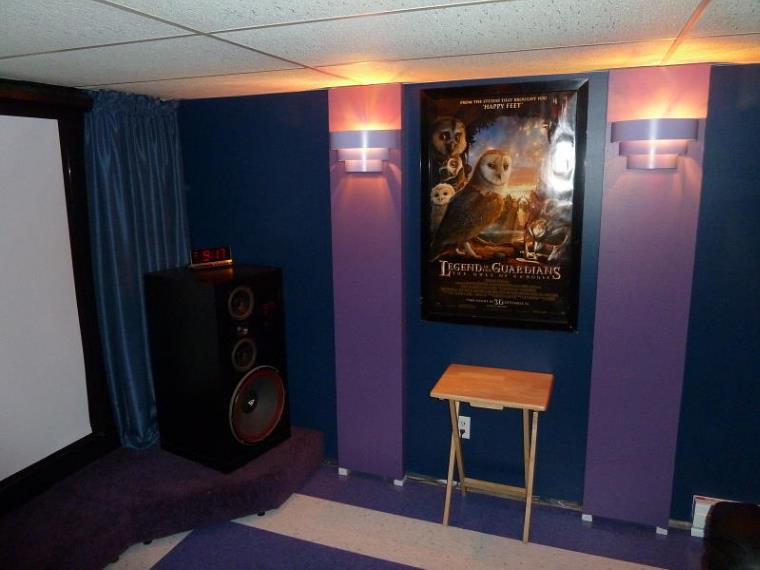
The theater room as it appears with 25 watt multi-colored tiffany bulbs installed in the sconce lights.
A view of the light pattern the sconce lights throw.
|
|
More photos to come - Check back soon for updated pics and construction details! |
|
|
|
More photos to come - Check back soon for updated pics and construction details! |
|
|
|
Click your Back button to return to The Frey Theater Homepage |